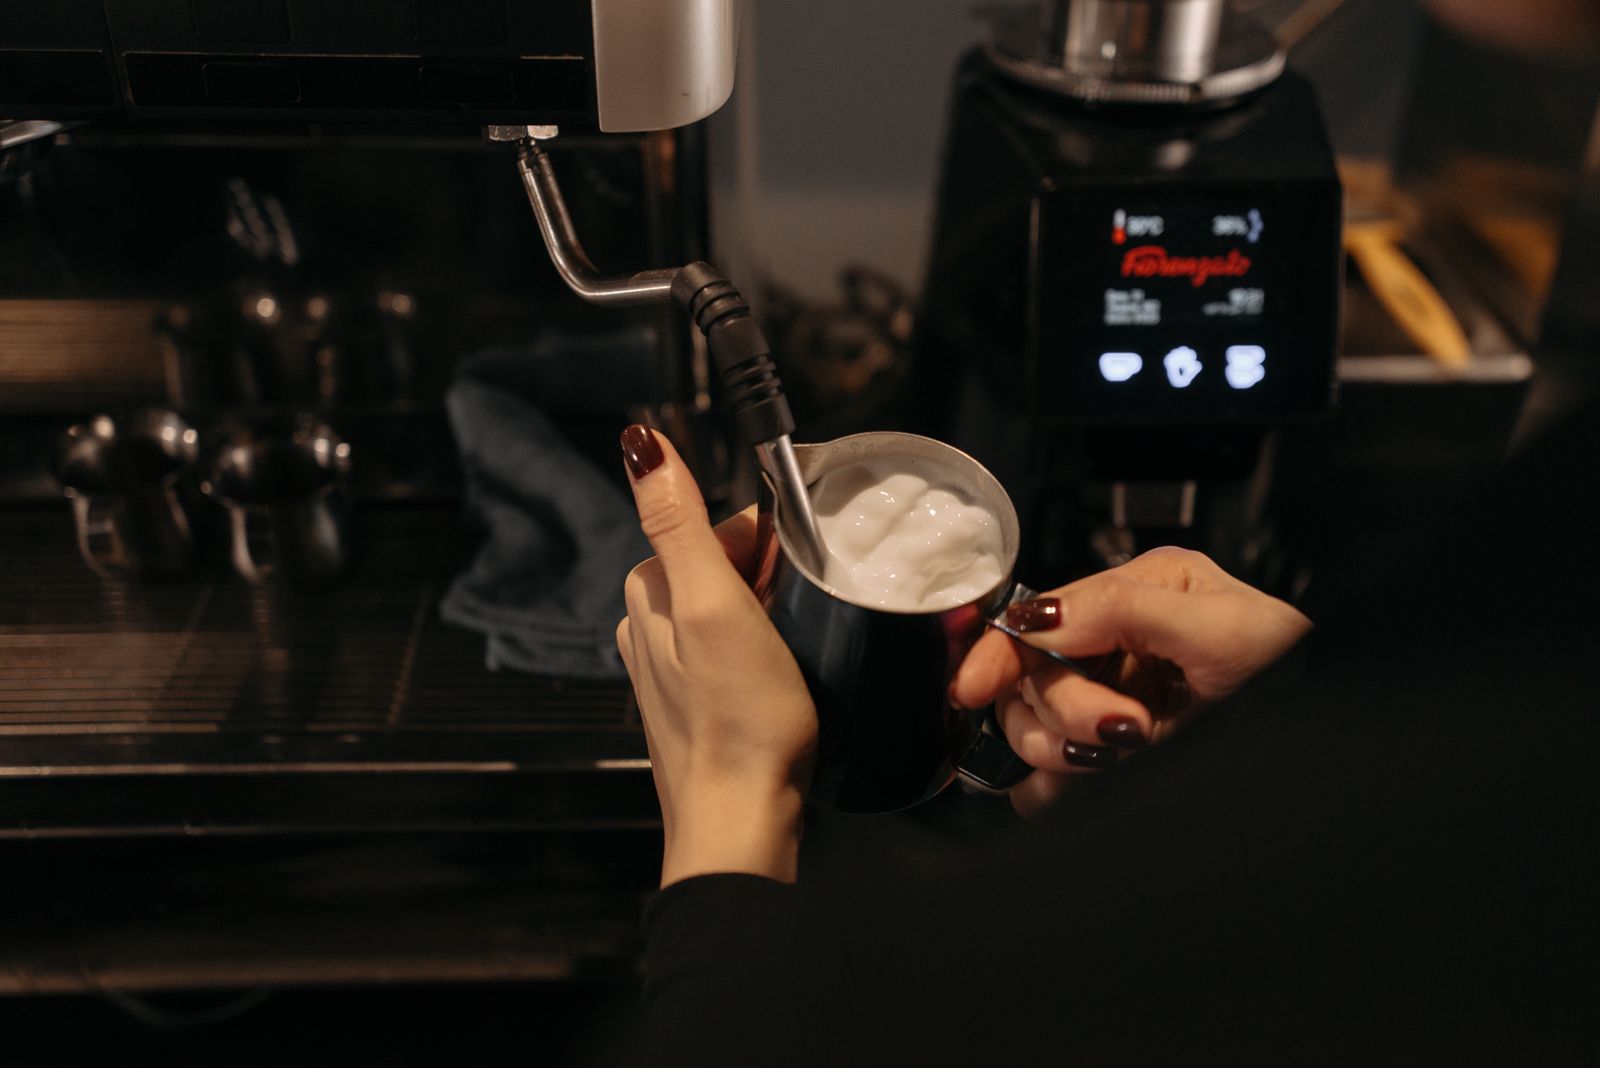
In every Latte Art Workshop, the first forty minutes have nothing to do with pouring. We steam pitcher after pitcher of milk, because a heart or a rosetta only holds its shape when the milk has the texture of wet paint: glossy, smooth and without a single visible bubble. The fastest way to learn that texture is to listen to it.
Sound one: the gentle tearing
Start with cold milk, filled to just below the spout of the pitcher. Put the steam wand tip just under the surface, slightly off centre, and open the valve fully.
You should hear a soft, regular tearing sound, a little like paper. That is air going into the milk. Keep it going until the pitcher feels close to body temperature, then lower the wand a centimetre.
Sound two: the quiet roll
Once the tip is deeper, the sound drops to a low hum and the milk starts to spin in a whirlpool. This is where the big bubbles break into tiny ones and the milk turns glossy.
Keep it rolling until the side of the pitcher is too hot to hold for more than a second, around 60 to 65 degrees Celsius. Hotter milk loses its sweetness and its shine.
What goes wrong, and how to hear it
Screaming or squealing means the tip is too deep too early, and no air is getting in. Loud spitting and big bubbles mean the tip is too high. Students fix both within a few pitchers once they know what to listen for.
Before you pour
Tap the pitcher once on the counter and swirl it until the surface looks like fresh paint. Then pour straight away, before the foam separates. Oat milk behaves a little differently, so we practise with whole, oat and almond milk in every workshop.