Teo has photographed every trip on this blog with a kit that fits under an aeroplane seat. People are often surprised by how small it is. The truth is that less gear has made him a better photographer: he spends less time choosing lenses and more time looking.
As with all our gear notes, we name no brands. Any good camera of the same kind will do the same job.
The whole kit
- Body
- One mirrorless camera
- Lens 1
- A small 24 to 70 mm zoom
- Lens 2
- A light 85 mm prime for portraits
- Support
- A compact travel tripod
- Storage
- Four memory cards, two backups
- Power
- Three batteries, one USB charger
- Cleaning
- Blower, cloth and sensor swabs
- Bag
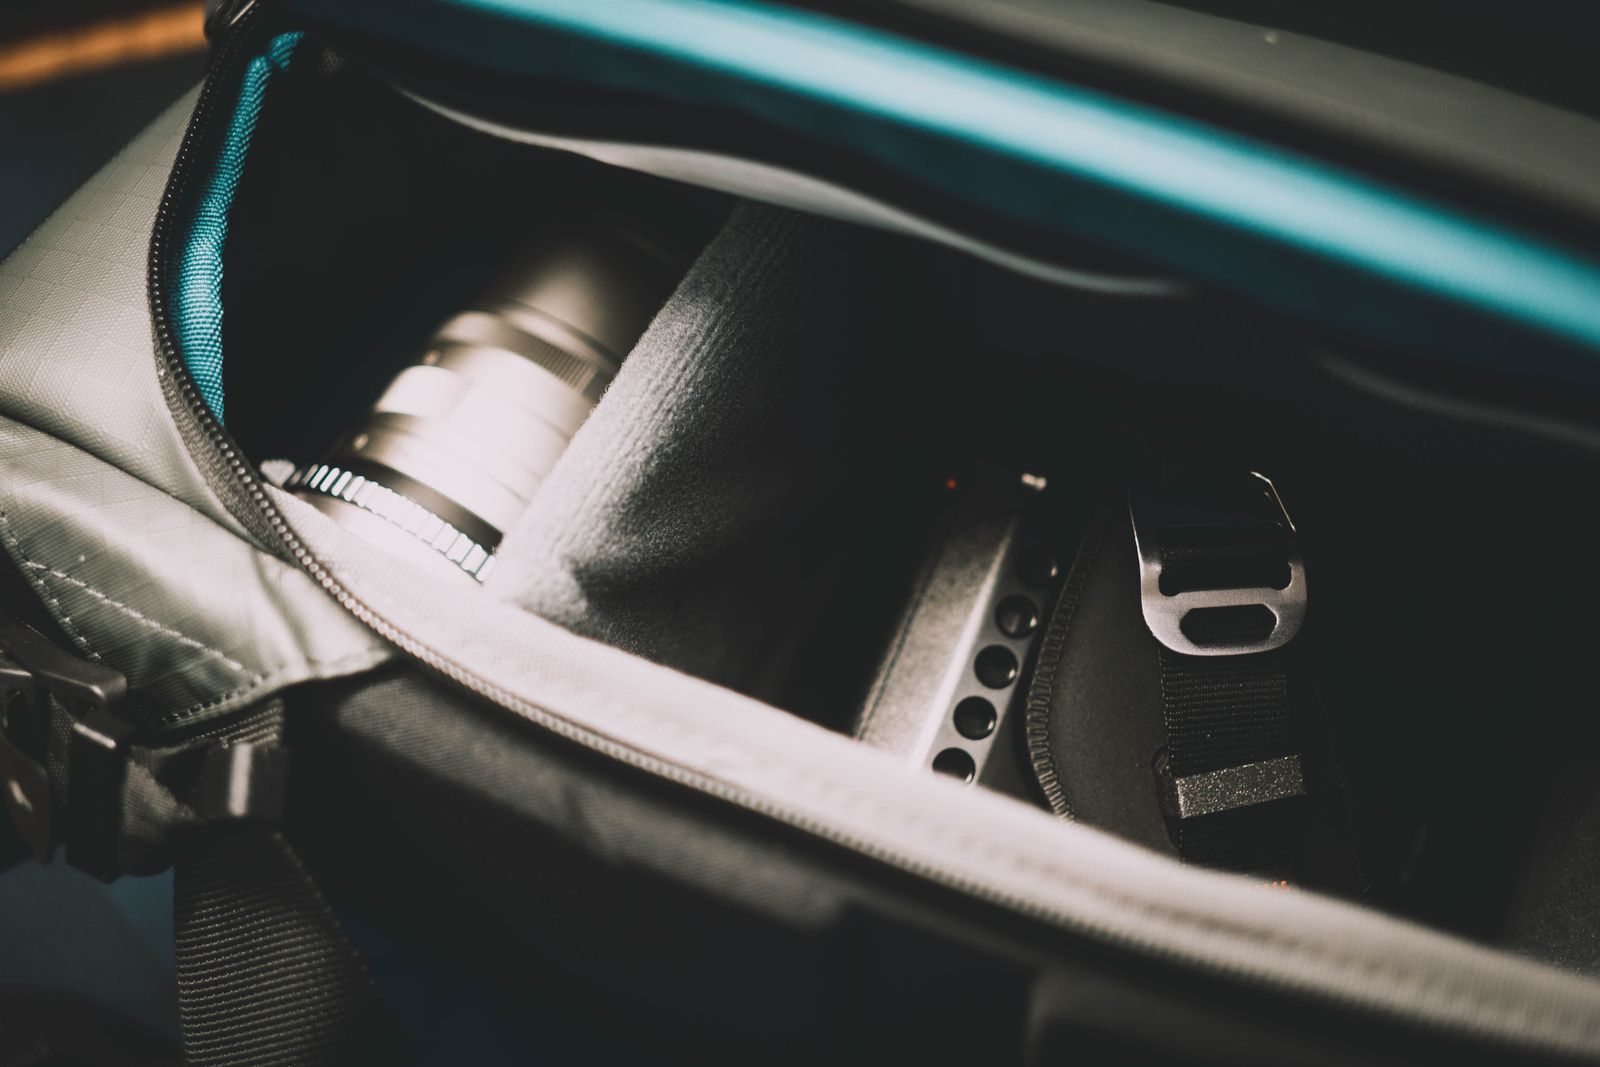
- A padded insert inside a plain backpack
Why a zoom and one prime
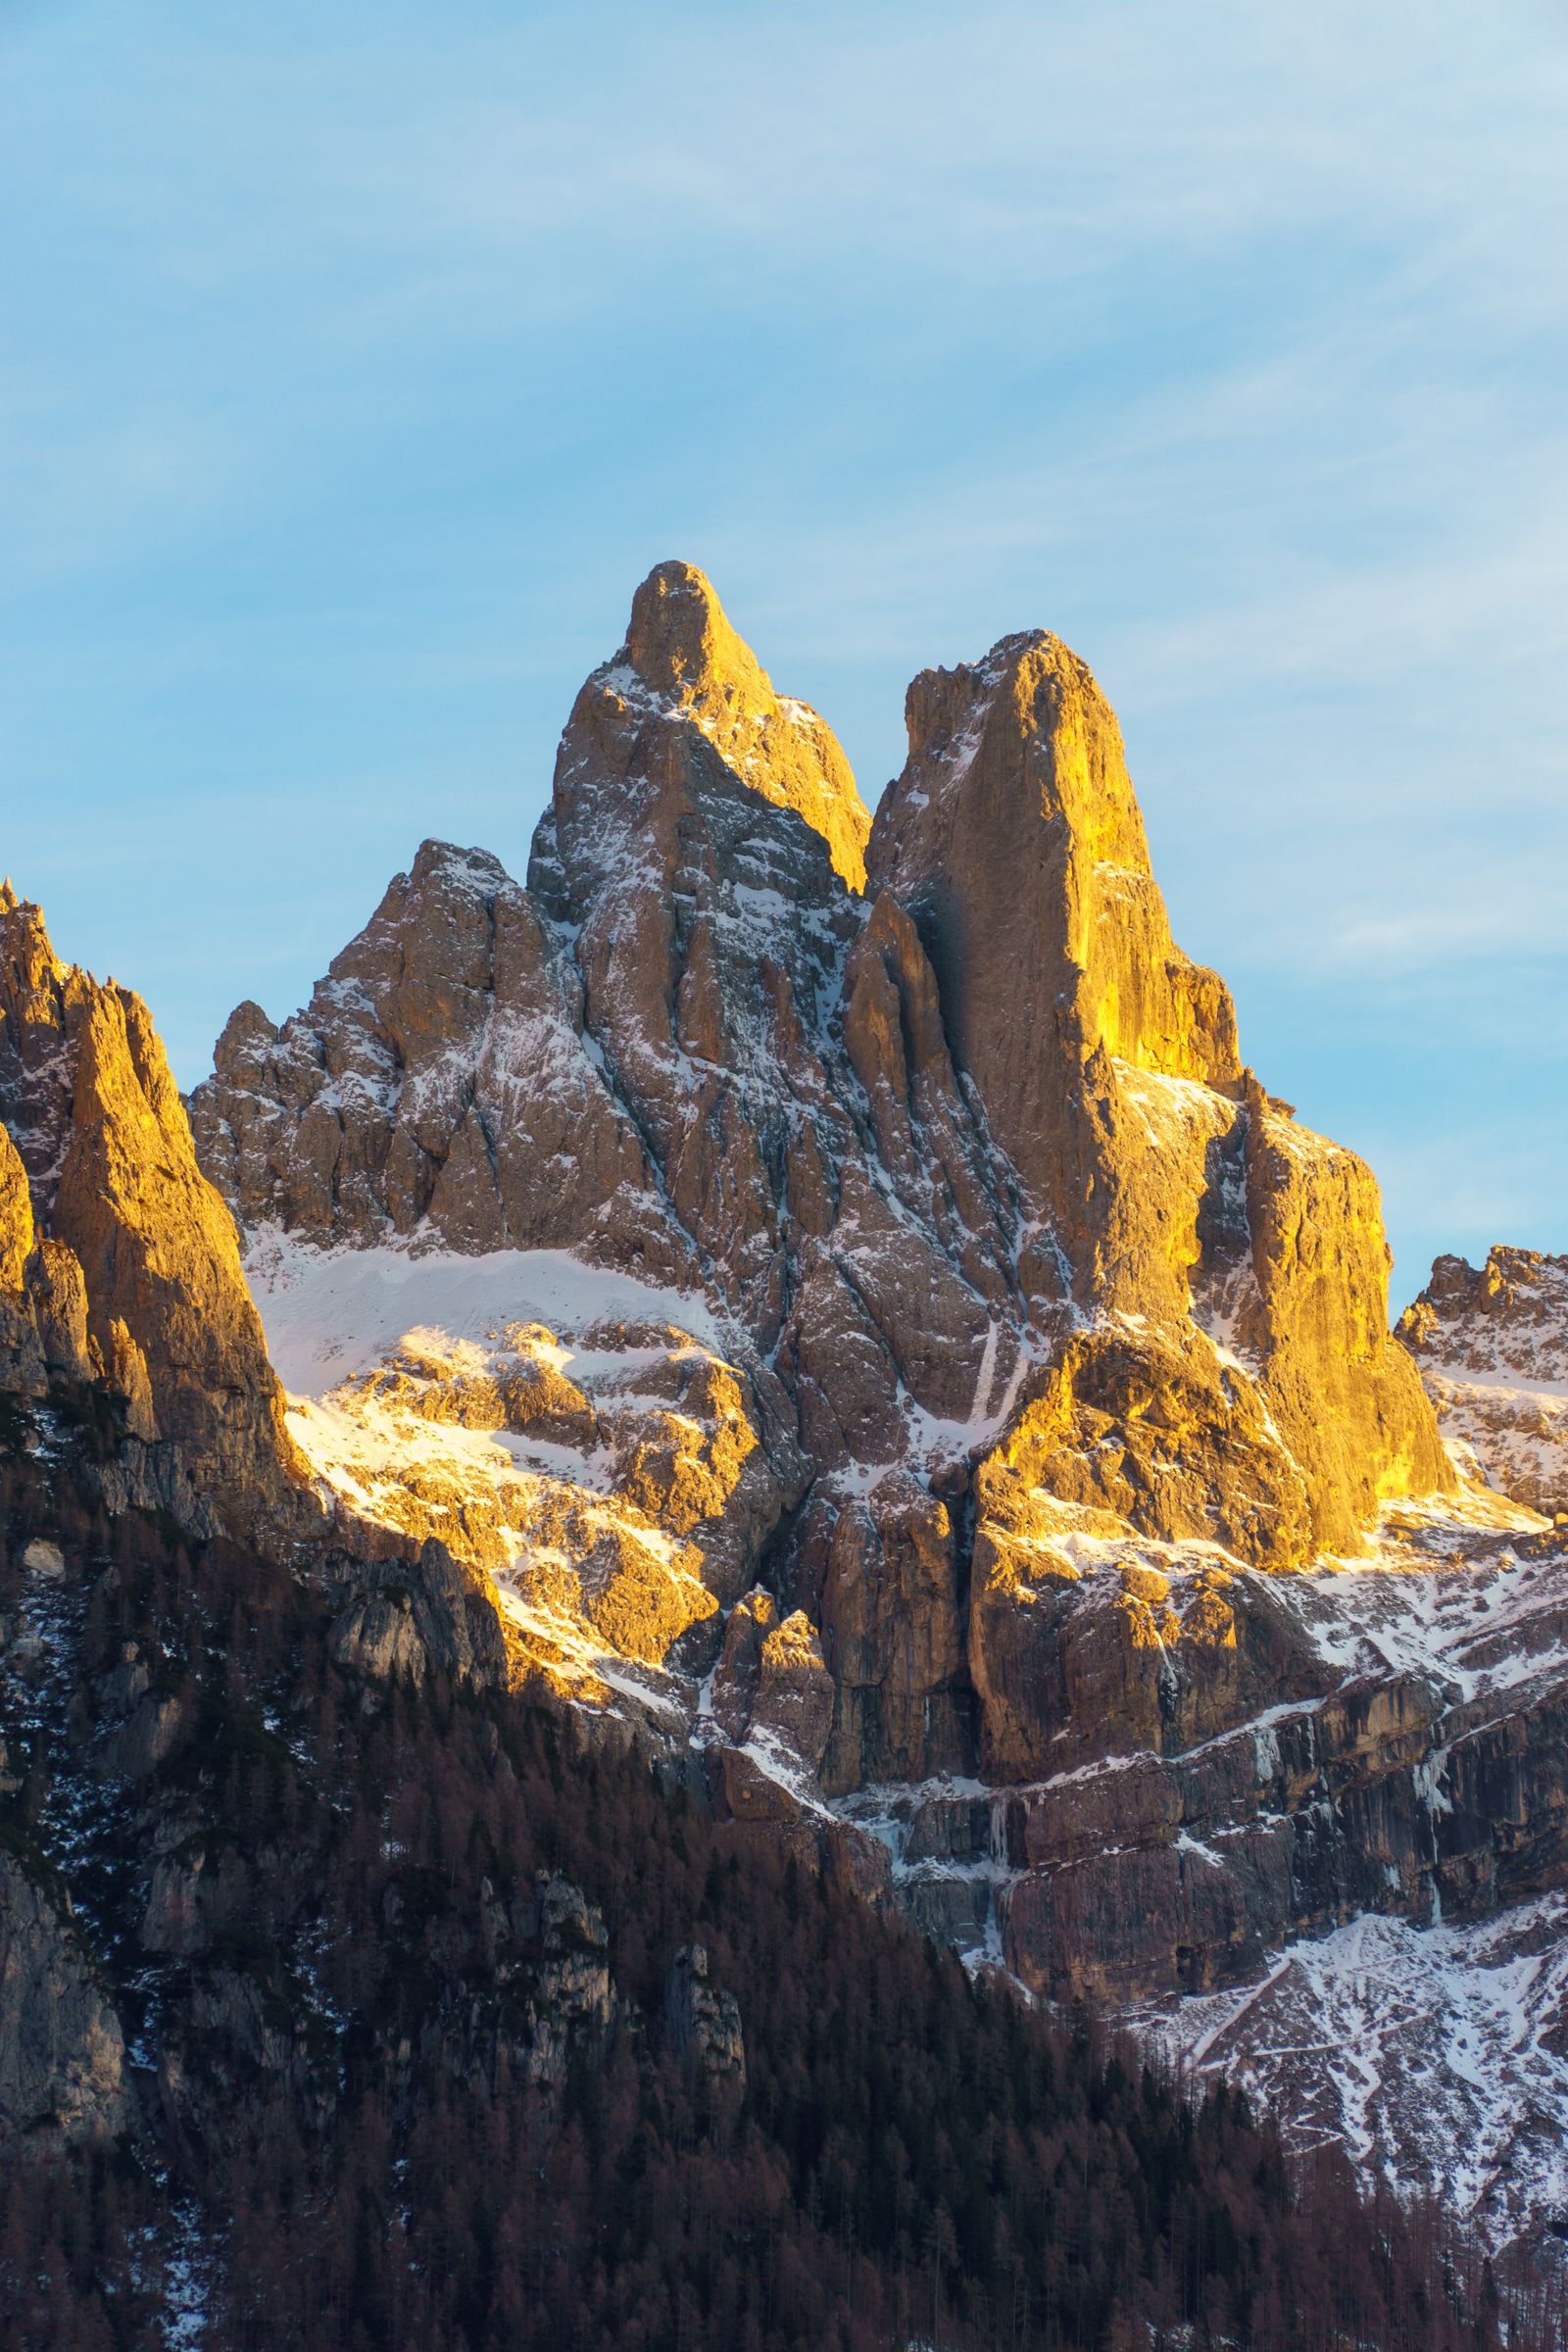
The zoom covers almost everything: landscapes, streets, the inside of a yurt. The prime is for portraits and low light, like the blue hour in the Dolomites or a lantern-lit street. Two lenses mean almost no time wasted swapping.
Keeping it working
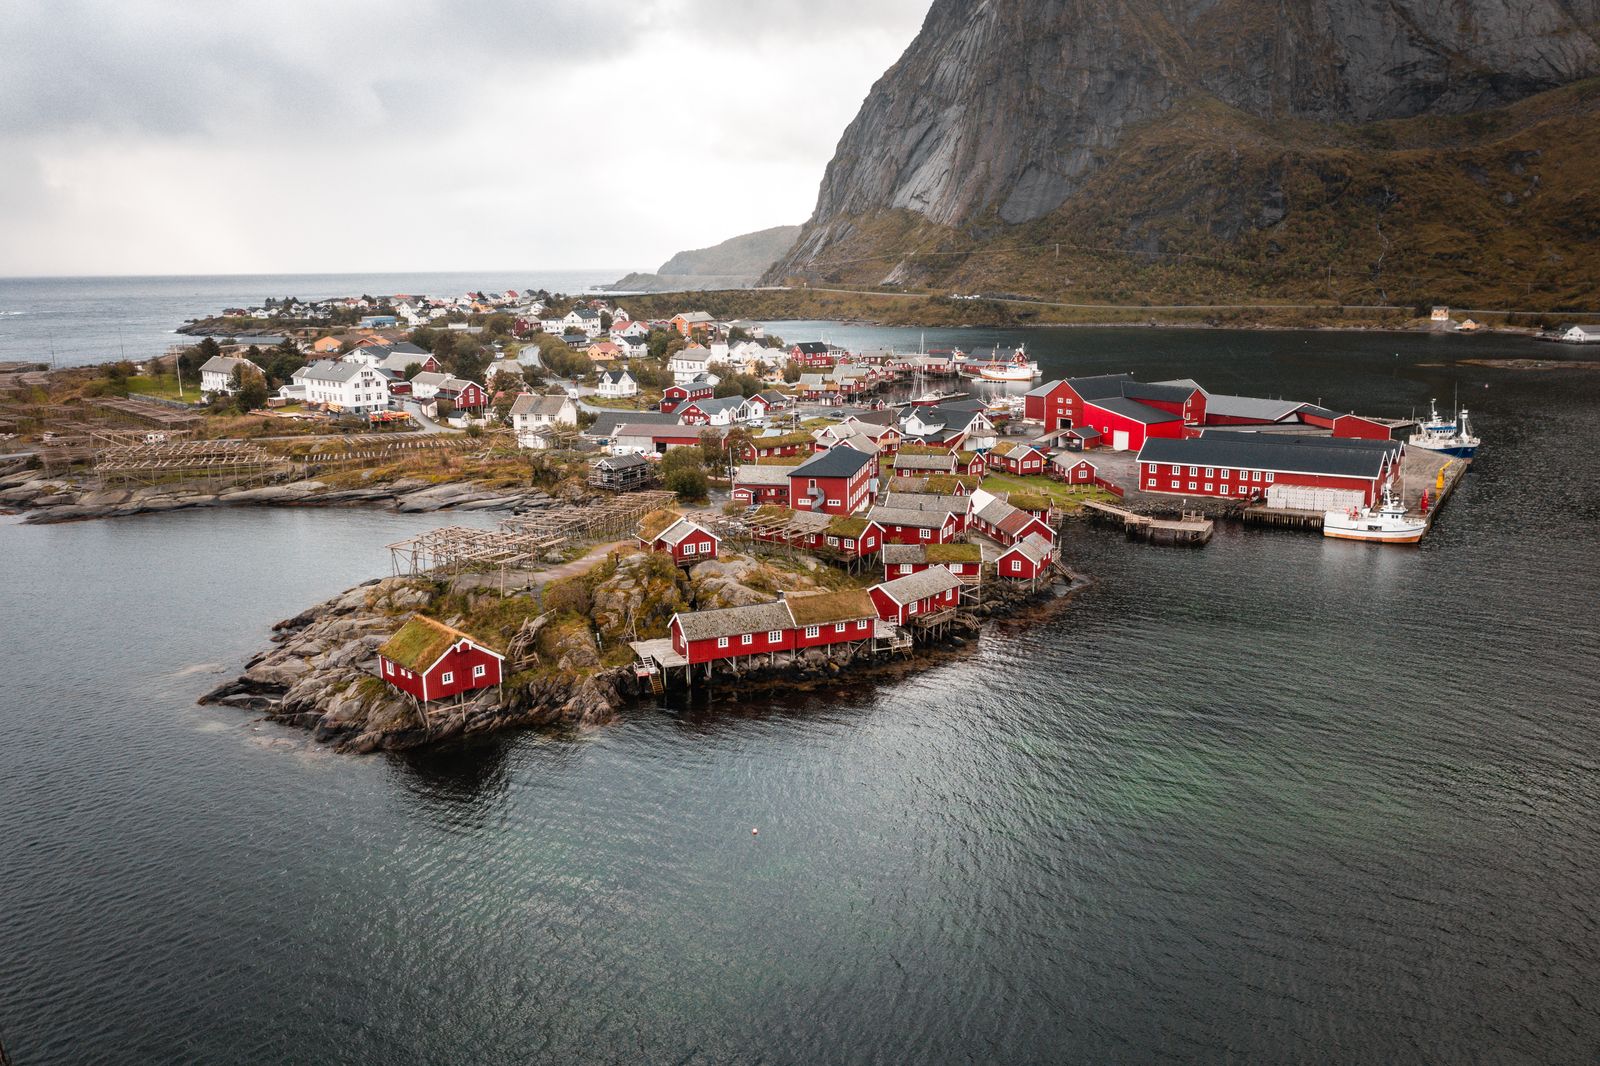
Dust on the Altiplano, salt spray on the Tasman, cold in Lofoten. Teo changes lenses with his back to the wind, keeps spare batteries in an inside pocket in the cold, and lets the camera warm up slowly in a closed bag when coming in from below zero, to stop condensation forming inside.
The one rule
Back up every evening, to a second card or the cloud when there is a connection. A lost camera is sad. Lost photographs from a trip you cannot repeat are much worse.
A plain bag
The camera rides in a padded insert inside an ordinary backpack, not a camera bag. It draws less attention, carries a jacket and a lunch too, and looks like every other bag on the bus.
If you are building a travel kit, start with one body and one zoom, and use it for a year before you buy anything else.